Showing posts with label Chicken. Show all posts

Monday, July 1, 2013

Fresh Basil Pesto Pasta

Fresh Basil Pesto

Every year I have basil plants in my garden that reseed themselves and come back. I went out to my garden and picked fresh basil leaves and made this simple and delicious pesto. Pine nuts are pricey but you only need a little bit and won't break your bank. Also, you can substitute with walnuts or macadamia nuts. I have different kinds od basil plants and I used a variety of basil such as sweet basil, Thai basil. 

I got this recipe from the post of Elise Bauer from simplyrecipes.com. I made hardly any changes to the recipe.

INGREDIENTS

  • 2 cups fresh basil leaves, packed
  • 1/2 cup freshly grated Parmesan-Reggiano or Romano cheese
  • 1/2 cup extra virgin olive oil ( I used a little more ..3/4 cup instead)
  • 1/3 cup pine nuts or walnuts (Macadamia nuts also yummy)
  • 3 medium sized garlic cloves, minced
  • Salt and freshly ground black pepper to taste
  • Special equipment needed: A food processor 

METHOD

1 Combine the basil in with the pine nuts, pulse a few times in a food processor. (If you are using walnuts instead of pine nuts and they are not already chopped, pulse them a few times first, before adding the basil.) Add the garlic, pulse a few times more.
2 Slowly add the olive oil in a constant stream while the food processor is on. Stop to scrape down the sides of the food processor with a rubber spatula. Add the grated cheese and pulse again until blended. Add a pinch of salt and freshly ground black pepper to taste.
Serve with pasta, or over baked potatoes, or spread over toasted baguette slices.

Yield: Makes 1 cup. 

Pesto Pasta with Grilled Chicken


The above pasta dish is so simple and quick, I had to share! 

Just toss some cooked and drained pasta with the fresh pesto. Throw some grilled chicken or shrimp on top and ENJOY!!


Tuesday, February 19, 2013

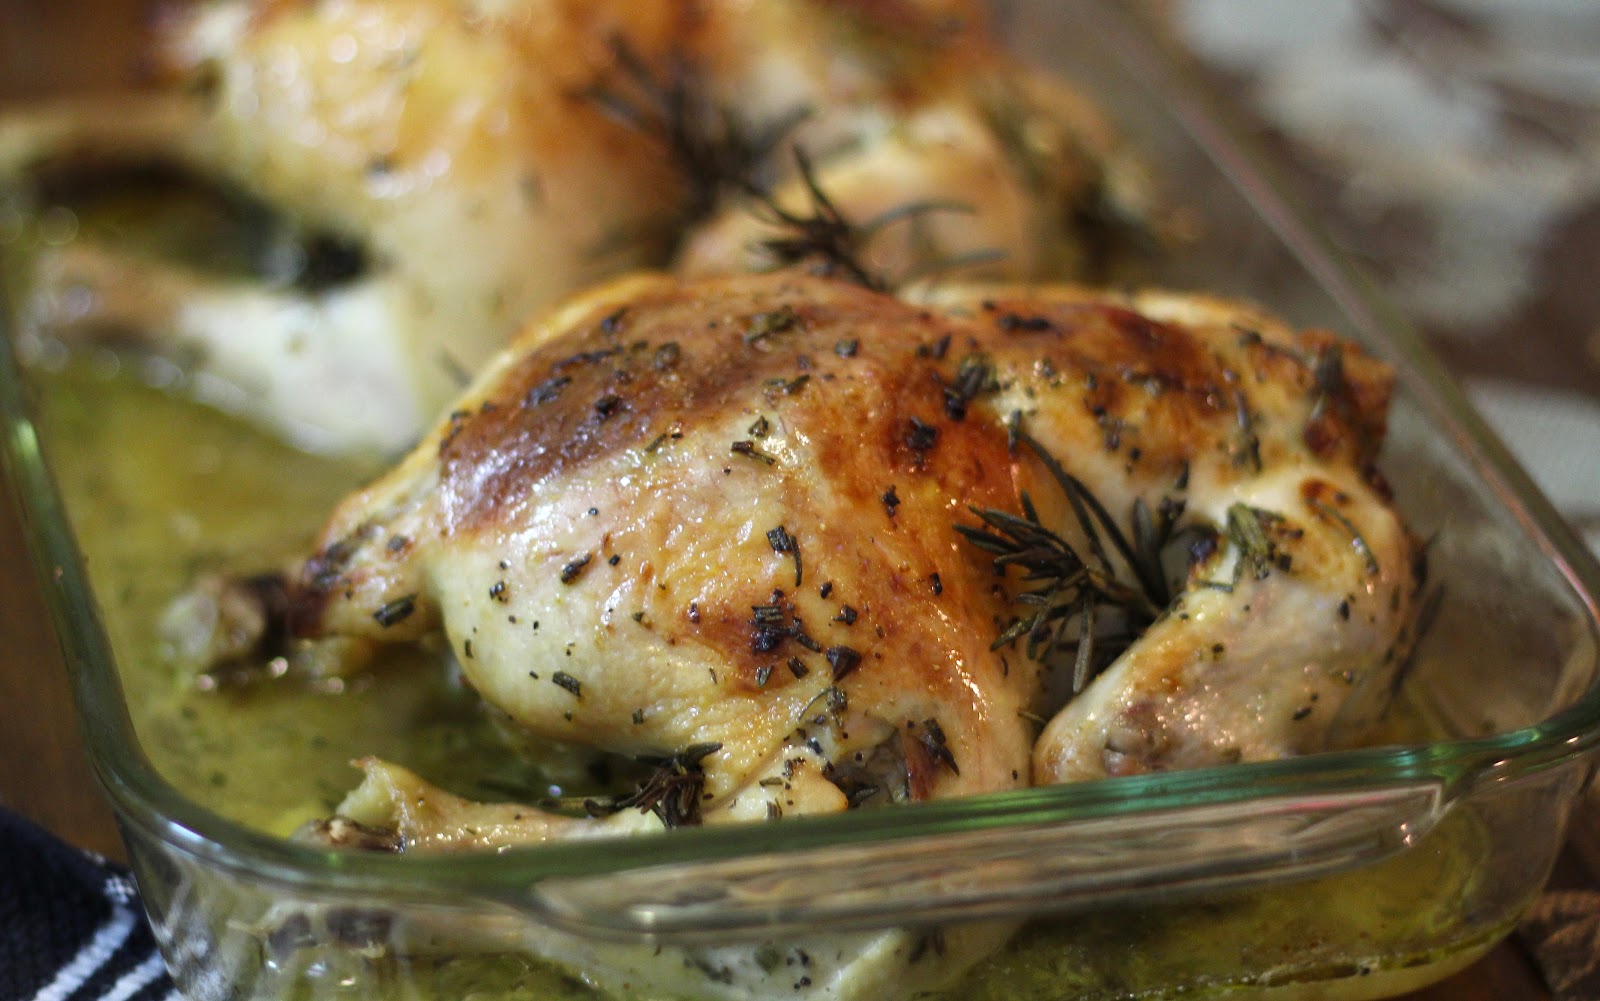
Lemon Rosemary Chicken


This is such an easy dish to make. My family loves it and I love making it for them. I also have a huge bush of rosemary which makes it easier for me. No brining needed and it is juicy and delicious. I made two tonight since my family needs more than one!
Please feel free to try out the recipe below and let me know how it turns out for you.


Ingredients

1( 3-4 lb) chicken (fresh, never been frozen)
1 lemon
4-6 sprigs of fresh rosemary
4 cloves of garlic, peeled 
1-2 TBS olive oil
salt and peeper to taste (or you can use lemon pepper)
1/4 C water

Preheat the oven to 350 degrees.

Finely dice about 1 TBS rosemary and save the rest.
In a small bowl, squeeze 1 lemon (save the rind), add olive oil and diced rosemary. Mix well.
Rub the whole chicken with salt and pepper (or lemon pepper). Then rub again with lemon oil mixture.
Insert whats left of the lemon (the rind) inside the chicken cavity along with some rosemary sprigs and a garlic clove. Then place the rest of the rosemary sprigs and garlic in various parts of the chicken such as under the wings etc.
Place the chicken in a pan with 1/4 C water and bake uncovered for 1 hour 15 min, breast side down. Let it rest for 10-15 minutes before eating the whole thing!!


Tuesday, December 13, 2011

Samgyetang (삼계탕) Korean Ginseng Chicken Soup

HERE comes another soup recipe you may say, but I cannot tell you enough times how much I love soups and stews. This soup definitely is a special occasion type of soup not because it is hard to make but because of the ingredients I have to gather before making it. I have never ever bought fresh ginseng till I made this soup the other day and it was pricey. I am sure getting dried ginseng would have saved me money but I wanted to follow this recipe from Norecipes exactly. I encourage you to visit the original website mentioned to see all the fun pictures too. I read that this soup is served in the summer in Korean but I made this on a cold rainy day. I love hot soups on a cold day! I aslo doubled the recipe because I had company. I made a special trip to a Korean gerocery store and found all the ingredients needed and I bought everything fresh. I wouldn't leave anything out, but I must say that I loved the chestnuts in the soup very much because they are so sweet and add a little crunch in the soup. I also bought a premade package with dried ginseng, jujubes, rice , and etc to try another time and compare and the taste and convenience.
I am so thankful for Internet and fellow food blogger such as Norecipes for sharing the recipes and allowing me to learn. This is the recipe I used.

Serves 2 hungry people

1/2 cup sticky rice (also known as “sweet rice” or “glutinous rice”)
2 Cornish game hens
2 tablespoons kosher salt (halve if using regular salt)
2 tablespoons pine nuts
3 small fresh ginseng roots (dried works okay too)
6 cloves of garlic, peeled
10 jujubes
4 whole chestnuts
4 cups low sodium chicken stock (preferably home made)
1 scallion thinly sliced
sea salt for serving

The morning you want to make the Samgyetang, wash the rice and soak it in a bowl full of cold water. Rub each hen with a tablespoon of kosher salt, both inside and out.

When you’re ready to start cooking, drain the rice and mix it with the pine nuts. Add a ginseng root, garlic clove, jujube, and chestnut into the cavity of each hen, then split the rice between the two hens. Add another garlic clove, jujube, and chestnut to each chicken, then cut a small slit into the flap of skin just above each drumstick and thread the end of each drumstick through both flaps as shown in the photo below. You could also use a toothpick to “stitch” the opening shut, you just want to keep the opening closed so the stuffing doesn’t all fall out.

Add the chicken stock and remaining ginseng root, garlic, and jujubes to a pot that’s just big enough to hold both hens. Bring to a boil, then carefully add both hens. Return the soup to a boil then cover and turn the heat down to low and simmer for one hour.

Serve the Samgyetang in a small pot or stone bowl along with the soup, then garnish with the scallions. Give each person a small plate of salt that can be added to the soup to taste, or be used to dip the chicken meat into.

Thursday, September 8, 2011

Chicken Tikka Masala ( Easy Version)


If you like Indian flavors and want to try making some at home quickly, this would be one recipe you may like. Have you ever seen jars of different Indian curry sauces in ethnic stores? Well, I bought one for Tikka Masala and used it for this easy dish. Hope the step by step pictures will help you to make a similar dish at home. This is probably far from what an Indian mom or grandma would call Tikka Marsala but HEY! it sure was an easy yummy curry!

You will need:

1 Lb Chicken ( I used boneless skinless thighs)
Veggies of your choice (I used 1 yellow squash, 1 red bell peppers)
Some cilantro leaves, chopped
1 TBS oil
salt, to taste
1/2 Cup water or broth

Tikka Masala Sauce Jar (see picture below)


Cut the chicken into bite size piece. Sprinkle some salt.


Have your veggies cut up and ready.


Heat up the oil in a wok.


Add and saute the chicken about 5 minutes.


Add the veggies and cook for a few minutes.


Add about 1/2 jar of the sauce. Mix well.


Add the broth or water and cilantro leaves. Simmer about 20 minutes with low heat, uncovered till meat and veggies are tender and sauce has thickened.


Serve this colorful dish with some rice.

Wednesday, May 18, 2011

Easy Chicken Marsala

I like chicken, I like mushrooms and I LOVE this easy yummy chicken Marsala! I am not sure what the best thing is to serve this with but usually, I serve it with some angel hair pasta or sometimes mash potatoes. I have not tried making this in a larger quantity but I would like to try soon. There are many recipes floating on the Internet for this dish and I use this recipe from Allrecipes and it was awesome. The recipe did not say whether to use sweet Marsala or the dry but I used the sweet one. Also, I butterflied the chicken breast, put them in between two sheets of clear wrap and pounded them to 1/4 inch thick before cutting them a little bit smaller. It was such a quick and easy delicious recipe with simple ingredients. I am keeping this recipe!!Would you like to try it too?

Here is the recipe:

Ingredients:

1/4 cup all-purpose flour for coating
1/2 teaspoon salt
1/4 teaspoon ground black pepper
1/2 teaspoon dried oregano
4 skinless, boneless chicken breast halves - pounded 1/4 inch thick
4 tablespoons butter
4 tablespoons olive oil
1 cup sliced mushrooms (I used 8oz pre sliced baby Bella mushrooms)
1/2 cup Marsala wine
1/4 cup cooking sherry

Directions:

In a shallow dish or bowl, mix together the flour, salt, pepper and oregano. Coat chicken pieces in flour mixture.
In a large skillet, melt butter in oil over medium heat. Place chicken in the pan, and lightly brown. Turn over chicken pieces, and add mushrooms. Pour in wine and sherry. Cover skillet; simmer chicken 10 minutes, turning once, until no longer pink and juices run clear.

Nutritional Information

Amount Per Serving: Calories: 448 | Total Fat: 26.6g | Cholesterol: 99mg

Wednesday, February 2, 2011

Step by Step Jambalaya Recipe

Jambalaya! What is Jambalaya? Where is it from? How many types of Jambalaya are out there? Well according to Wiki , "Creole jambalaya originates from the French Quarter of New Orleans, in the original European sector. It was an attempt by the Spanish to make paella in the New World, where saffron was not readily available due to import costs. Tomatoes became the substitute for saffron. As time went on, French influence became strong in New Orleans, and spices from the Caribbean changed this New World paella into a unique dish. In modern Louisiana, the dish has evolved along a variety of different lines. Creole jambalaya, or red Jambalaya as it is called by Cajuns, is found primarily in and around New Orleans, where it is simply known as 'Jambalaya'. Creole Jambalaya includes tomatoes, whereas Cajun jambalaya does not."

There is always more than one way to make a dish and YES there are a millions ways different people make their Jambalaya. After a few times of trial and error and some experimenting with different Jambalaya recipes, I came up with the one that is best for my taste and my family's. You can use my recipe as a guide and adjust it to your taste and what you have available in your kitchen! There is no rules, but just have fun and enjoy cooking this flavorful filling dish!

Here is how I make my Jambalaya:

Ingredients:

2 tablespoons canola oil
1 tablespoon Cajun seasoning
1 pound smoked sausage, sliced into rounds
1 pound boneless skinless chicken breasts, boiled and cut into 1 inch pieces
(Note: I sometimes boil a whole chicken, use both the broth and the meat)
1 pound peeled and divined shrimp, raw
1 cup onion, diced
1 cup bell pepper, diced
1 cup celery, diced
3 cloves garlic, minced
1 bay leaf
1/2 teaspoon dried thyme
1/2 teaspoon Cayenne pepper
1/2 teaspoon ground black pepper
1 teaspoon salt
2 teaspoon hot pepper sauce, (more or less depending on your taste)
2 teaspoons Worcestershire sauce
2 cups uncooked white rice
4 cups chicken broth (or water)

Optional: If you want a red (tomato based) Creole Jambalaya, throw in a can of small tomato sauce or Rotel or Italian crushed tomatoes, etc. Use what you have in your pantry!


The Holy Trinity (Onion, bell peppers, and celery)


Heat the oil on medium heat and sautee the garlic and bay leaf for about a minute till fragrant.


Add the Holy Trinity, salt, and Caynne pepper.


Cook till all the veggies are almost tender for about 5-6 minutes.


Add the rice.


Mix well so that the rice will cook without sticking and lumping together.


Add the Cajun seasoning powder, thyme, black pepper.


Add the broth and the rest of the seasoning sauces (hot sauce etc). Stir once. cover and let it simmer over low heat for about 20-25 minutes.


Add the chicken, saussage, and raw shrimp during the last 10 minute of cooking.


Mix and taste. Rice should be fully cooked, but not mushy or very wet. You can now enjoy Jambalaya!!


Monday, July 19, 2010

The Daring Cooks July 2010 Challenge: Nut Butters : Asian Noodle Salad with Peanut Dressing and Grilled Curry Chicken

The July 2010 Daring Cooks’ Challenge was hosted by Margie of More Please and Natashya of Living in the Kitchen with Puppies. They chose to challenge Daring Cooks to make their own nut butter from scratch, and use the nut butter in a recipe. Their sources include Better with Nut Butter by Cooking Light Magazine, Asian Noodles by Nina Simonds, and Food Network online. We were given a few recipes to pick from and many choices of nuts. I chose the Asian Noodle salad recipe with Peanut Dressing and decided to add grilled curry chicken on top (the original recipe uses shrimp).

Asian Noodle Salad with Peanut Dressing

Yield: 4 servings

Recipe notes: Customize the salad by adding or substituting your favorite vegetables. Shredded cabbage, bean sprouts, and slivered carrots would make nice additions. Obviously, you can omit the shrimp, or substitute chicken or tofu or the protein of your choice. The dressing is equally as good with peanut butter rather than cashew butter. We tested the dressing with nut butters made from salted cashews & peanuts with good results.

Directions:


Peanut Butter:
1 cup dry roasted peanuts (I used unsalted)

Make peanut butter: Grind peanuts in food processor for about 2 minutes until smooth. (*Or start with ½ cup prepared peanut butter.)


Peanut Dressing:
½ inch (1 cm) slice of fresh ginger, chopped
8 cloves garlic, more or less to taste, chopped
½ cup (120 ml) peanut butter
¼ cup (60 ml) soy sauce
3 Tablespoons (45 ml) sugar
3 Tablespoons (45 ml) vinegar
3 Tablespoons (45 ml) toasted sesame oil
¼ cup plus 1 Tablespoon (75 ml) water
Hot sauce to taste (optional)

Prepare peanut dressing: Combine ginger, garlic, peanut butter, soy sauce, sugar, vinegar, sesame oil, and water in food processor or blender. Process/blend until smooth. Be sure to process long enough to puree the ginger and garlic. The dressing should be pourable, about the same thickness as cream. Adjust consistency – thinner or thicker -- to your liking by adding more water or peanut butter. Taste and add your favorite hot sauce if desired. (If the cashew butter was unsalted, you may want to add salt to taste.) Makes about 1 ½ cups (360 ml) dressing. Store any leftover dressing in the refrigerator.


My Grilled Curry Chicken

2 boneless skinless chicken breasts (butterfiled)
2 TBS peanut butter
1 tsp curry powder
1 TBS fish sauce (optional)
1 TBS lime juice
pinch of salt

Marinate the chicken with rest of the ingridients for about 15 min and grill. Chop the grilled chicken into big cubes.


Noodle Salad:
1/2 pound (225 g) linguine or thin rice noodles
1 tablespoon (15 ml) olive oil
1 large red bell pepper, cored and seeded, cut into thin strips (I omitted this)
1 cucumber, peeled, seeded, sliced (I omitted this)
1/4 cup (60 ml) sliced green onions
1/4 cup (60 ml) chopped fresh basil
1 tablespoon (15 ml) chopped peanuts (optional garnish)
Lime wedges (optional)
Cilantro (optional)
Prepare noodles according to package instructions in salted water. Rinse and drain noodles. Set aside.
Slice basil into thin ribbons. Combine noodles, bell pepper, cucumber, onions, and basil in a large bowl. Add about ½ cup (120 ml) peanut dressing; toss gently to coat. Add more peanut dressing as desired, using as much or as little as you’d like. Scatter grilled chicken on top. Squeeze fresh lime juice over salad or serve with lime wedges. Sprinkle with chopped or cilantro if desired.

Saturday, May 29, 2010

Blackened Chicken Pasta with Lemon Cream Sauce

I love pasta with cream sauces and this is one of my favorites! I like Alfredo sauce and order it often when I go out to eat but I like making this lemon sauce at home because it's not as rich as Alfredo and also has lots of flavors from all the vegetables I put in. It is pretty easy to make as well. I will try to write the recipe below with as accurate measurements as I can remember so bare with me for it. Afterall, even if I don't remember the exact measurements, you'll get an idea of what goes in this yummy lemon sauce and a general idea of the steps involved. It'll be fun to taste and add more or less of what you like to make it your own too. So here we go;

Ingredients:

Pasta (I used linguine) Just boil it with a lil olive oil and garlic.

Sauce:

1 medium Onion (chopped)
8 oz Mushrooms (sliced)
1 small Jar of Marinated Artichoke
2 TBS capers
1 TBS flour
2 TBS butter
1/2 C white wine
3 TBS lemon juice ( adjust to your taste)
1 C heavy cream or half and half


Gather your ingredients and cut the mushrooms and onions.


Cook the onions with butter till the are tender.


Add the sliced mushrooms and cook a few min.


Add the flour and mix well for few min.


Add artichokes and capers.


Add wine and lemon juice.


Let it simmer for about 10-15 min.


Lastly, add cream and simmer for about 10 more min. Taste and add more of what you desire ( lemon juice or cream etc)


Easy Blackened Chicken


4 boneless skinless Chicken Breast
4 TBS melted butter
Blackening seasoning

Use any blackening seasoning powder.


Dip chicken in melted butter and sprinkle generously with blackening seasoning.


Fry the chicken up in an cast iron skillet with some melted butter. Make sure the skillet is very hot and you push down on the chicken with a spatula or spoon. Few min on each side.


Ready! Let the chicken sit and cool a lil before slicing and topping on your pasta.


Enjoy!

Saturday, May 15, 2010

Stacked Green Chile & Grilled Chicken Enchilada : The Daring Cooks May 2010 Challenge

What better way to celebrate Cinco De Mayo with some homemade Mexican food? It is time for another Daring Cook's Challenge and it is Enchiladas!!!!Our hosts this month, Barbara of Barbara Bakes and Bunnee of Anna+Food have chosen a delicious Stacked Green Chile & Grilled Chicken Enchilada recipe in celebration of Cinco De Mayo! The recipe, featuring a homemade enchilada sauce was found on www.finecooking.com and written by Robb Walsh. Since I am in TX, it was very easy to get all the ingredients needed to make this dish.
I have never made a homemade enchilada sauce and I was sooooo glad I did this month. It was delicious. Please don't get discouraged by the long recipe and steps. it was not difficult at all and worth your time. The hardest part for me was roasting the chilies and tomatillos simply because it is time consuming and have to watch them. The rest is a piece of cake. The only change I made to the recipe is that I boiled a whole chicken and make homemade broth and used the chicken for filling. In my opinion it is moister than grilled but others may prefer the grilled, smoky taste. Whatever float your boat! Changing things up is a big part of the COOKING FUN, isn't it????

Ingredients


1½ pounds Fresh Anaheim chilies (about eight 6 to 8 inch chilies) 24 ounces 678 grams - roast, peel, remove seeds, chop coarsely. Other green chilies (NOT bell peppers) could probably be substituted but be conscious of heat and size!)
7-8 ounces Tomatillos (about 4-5 medium)212 grams - peel, remove stems
4 cups Chicken broth (32 ounces/920 grams)
1 clove Garlic, minced
2 teaspoons yellow onion, minced
1 teaspoon dried oregano
½ tsp Kosher salt (add more to taste)
¼ tsp Black Pepper (add more to taste)
2 tablespoons Cornstarch (dissolve in 2 tablespoons water, for thickening)
Hot sauce, your favorite, optional
2 Boneless chicken breasts (you can also use bone-in chicken breasts or thighs)
3 tablespoons Olive oil or other neutral vegetable oil (use more as needed)
Kosher salt and pepper
12 Small Corn tortillas (5-6 inch/13-15 cm). (you can also use wheat tortillas or other wraps)
6 ounces grated Monterey Jack, 170 grams (other cheeses (cheddar, pepper jack, Mexican cheeses) can be used. Just be sure they melt well and complement the filling)
Cilantro for garnish, chopped and sprinkled optional

Directions:

Roasting Fresh Chilies

1. Coat each chili with a little vegetable oil. If you are doing only a couple chilies, using the gas stove works. For larger batches (as in this recipe), grilling or broiling is faster.
2. Lay the oiled chilies on the grill or baking sheet (line pan with foil for simpler clean-up). Place the grill or broil close to the element, turning the chilies so they char evenly. They should be black and blistered.
3. As they are completely charred (they will probably not all be done at once), remove them to a bowl and cover with plastic, or close up in a paper bag. Let them rest until they are cool.
4. Pull on the stem and the seed core MAY pop out (it rarely does for me). Open the chili and remove the seeds. Turn the chili skin side up and with a paring knife, scrape away the skin. Sometimes it just pulls right off, sometimes you really have to scrape it.
5. DO NOT RINSE! (this will wash off awesome flavors)
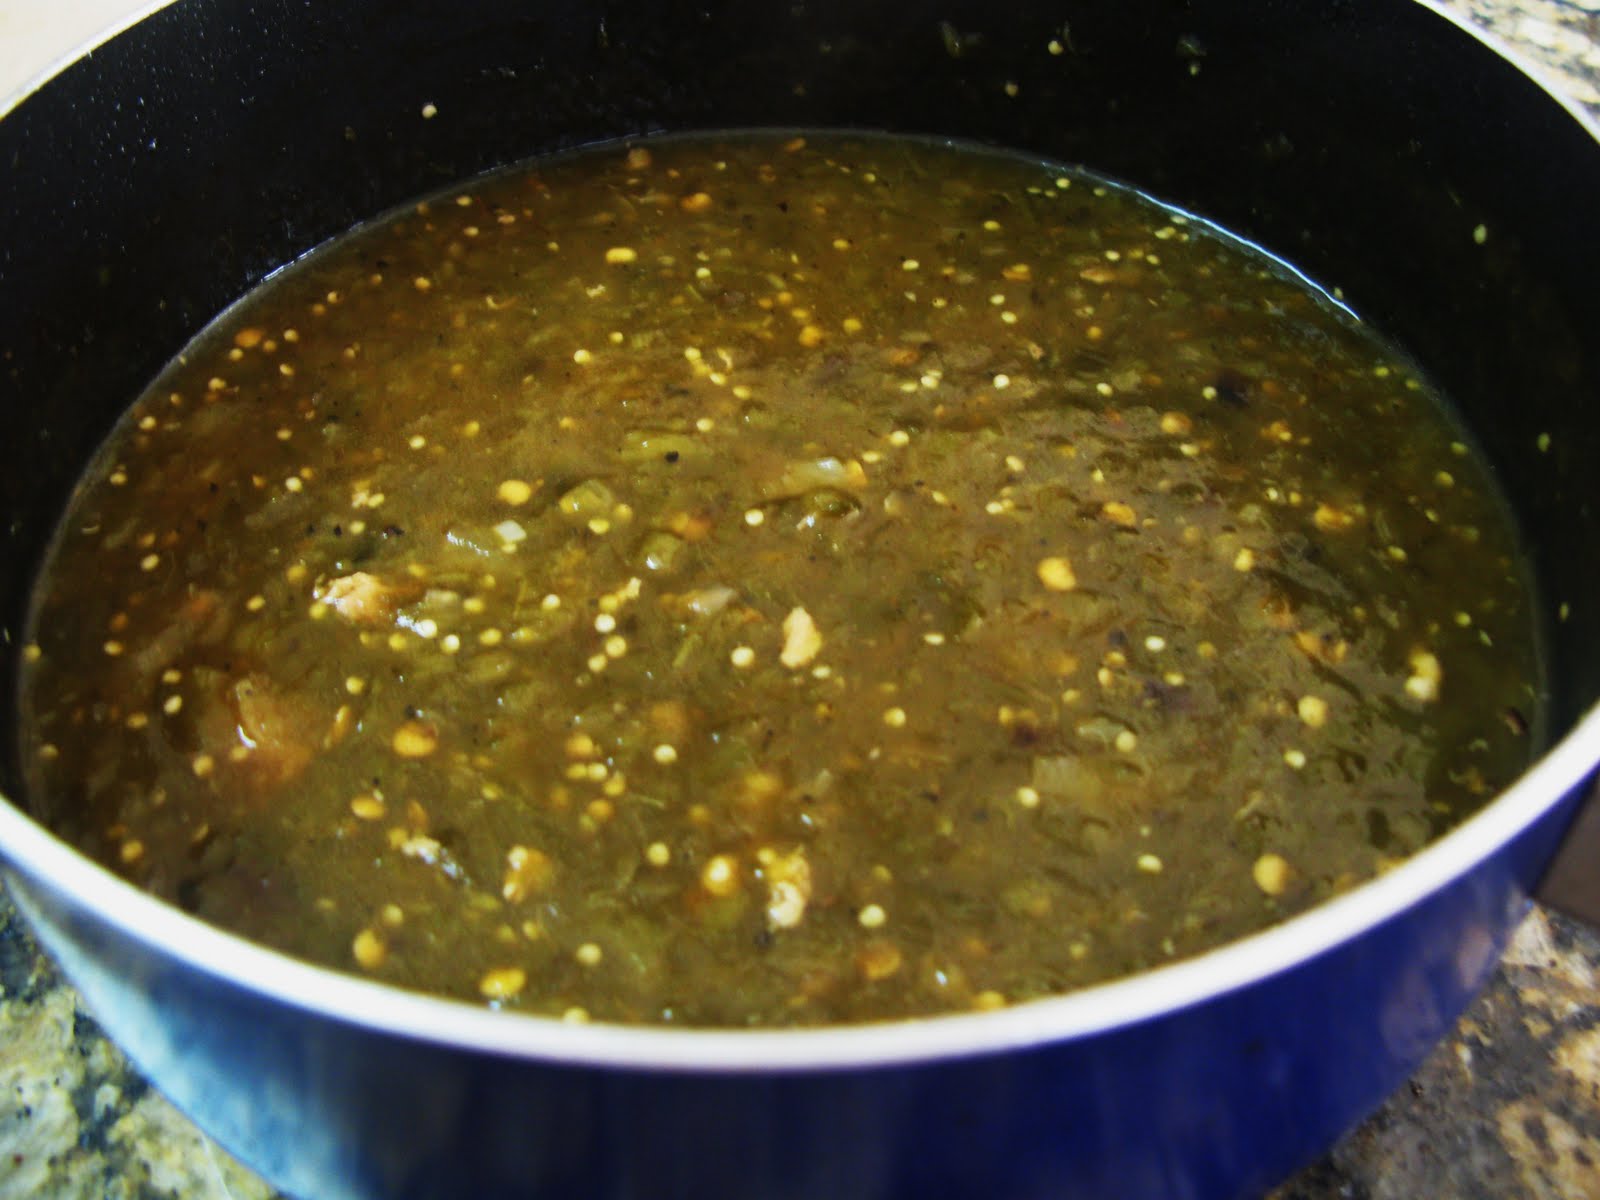
Green Chile Sauce

1. Put a medium saucepan of water on to boil and remove the papery outer skin from the tomatillos. Boil the tomatillos until soft, 5 to 10 minutes. You can also grill the tomatillos until soft.
2. Drain and puree in a blender or food processor.
3. Return the tomatillos to the saucepan along with the chicken broth, chopped green chilies, minced onion, oregano, garlic, salt and pepper.
4. Bring to a boil over medium-high heat and then reduce the heat and simmer for 10 minutes.
5. Add the cornstarch/water mixture and stir well. Simmer, stirring occasionally, until the sauce is thickened and reduced to 4-5 cups, another 10-15 minutes.
6. Adjust seasonings and add hot sauce if you want a little more heat.


Stacked Green Chile and Grilled Chicken Enchiladas

1. Heat a gas grill to medium high or build a medium-hot charcoal Coat the chicken with olive oil and season well with salt and pepper. Preheat oven to 450 degrees.
2. Grill the chicken until just cooked through, 4-5 minutes a side for boneless chicken breasts.
3. Cool and then slice into thin strips or shred.
4. In a small skillet, heat 3 tablespoons oil over medium-high heat until very hot. Dip the edge of a tortilla into the oil to check – it should sizzle immediately.
5. Using tongs, put a tortilla into the pan and cook until soft and lightly brown on each side, about 15-20 seconds per side (at the most).
6. Drain on paper towels.
7. Add oil as needed and continue until all 12 tortillas are done.


Note: The directions are for 12 totillas but my pictures will only show a single stack but you will get the idea.


In a baking dish, ladle a thin layer of sauce.


Lay tortillas in the dish and ladle another ½ cup (4 ounces/112 grams) of sauce over the tortillas. Divide half the chicken among the first layer of tortillas.


Top with another ½ cup of sauce.


And 1/3 of the grated cheese.


Stack another tortillas, top with the rest of the chicken, more sauce and another third of the cheese.


Finish with the third tortilla. Top with the remaining sauce and cheese.Bake until the sauce has thickened and the cheese melted, about 20 minutes. Let rest for 5-10 minutes.


. To serve, transfer each stack to a plate. Spoon any leftover sauce over the stacks and sprinkle with cilantro, if you wish. The stacks may also be cooked in individual gratin dishes.